
Articles in this section
- How to Uniquely Identify Hotlink Module Zones in Archicad Schedules?
- How to Set the Origin of a 3D Texture in Archicad?
- Why Do Drawings Exported to PDF in Archicad Generate Very Large Files?
- How to Map a Custom Archicad Property to an IFC Property?
- How to Remove an Archicad Educational Licence from a Computer?
- How to Change an Archicad File Started in the International Version to the Spanish Version?
- How to Import a PDF to Use as a Reference in Archicad?
- How to Use Educational and Commercial Versions of Archicad on the Same Computer?
- How to Get the Archicad Connection with Twinmotion?
- How to Create a Structural Frame with the Create Truss Tool in Archicad?
How to Create a Structural Frame with the Create Truss Tool in Archicad?
Archicad’s Create Truss tool (Design > Design Extras > TrussMaker) lets you generate truss-type structures from a 2D outline. It is useful for quickly modelling structural frames when their geometry is linear or triangulated.
It works from a drawing made beforehand in floor plan, section or elevation, and is aimed at modelling and visualisation, not structural calculation.
It is recommended for conceptual models, quick 3D representations or documentation solutions. For advanced structural needs or analytical BIM, other tools should be used.
Steps to create the structural frame
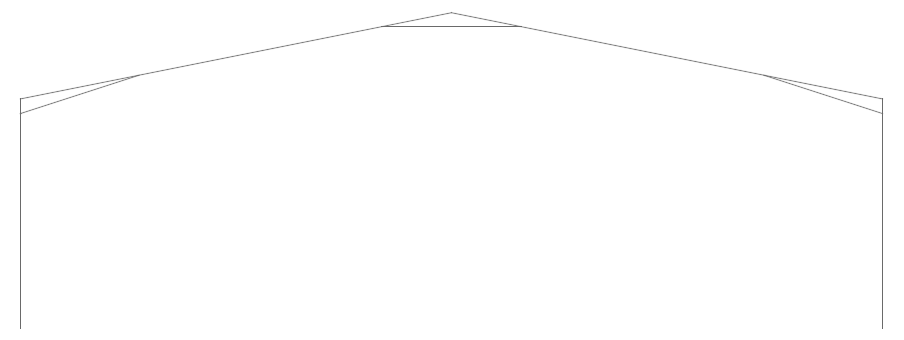
Step 1 - Draw the frame outline
- In the floor plan or in a section/elevation, draw the outline and internal subdivision of the frame using lines and, if needed, arcs.
-
This drawing will be the basis that TrussMaker will convert into an object.
Step 2 - Use different pen colours
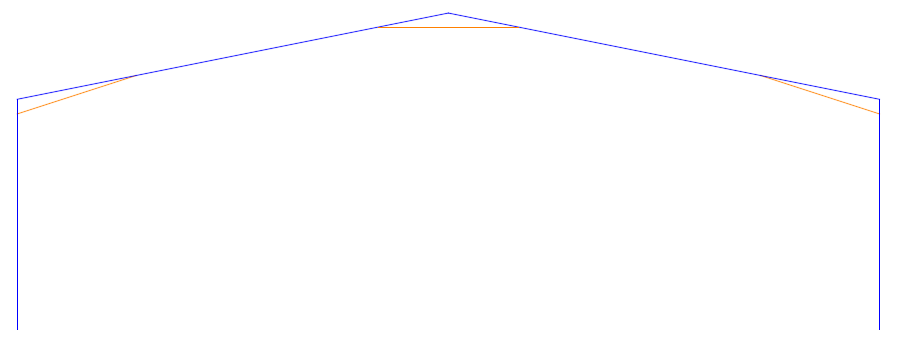
Archicad uses pen colours to distinguish the different parts of the truss.
- Assign a different pen to each type of element in the outline.
- For example, you can use one pen for the top chord, another for the bottom chord, another for verticals and another for diagonals.
-
This will help you configure each part more precisely in the settings dialog box.
Step 3 - Select the outline
- Once the drawing is ready, select all the lines and arcs that make up the frame.
Step 4 - Run the Create Truss command
- Go to Design > Design Extras > TrussMaker > Create Truss.
- The settings dialog box will open.
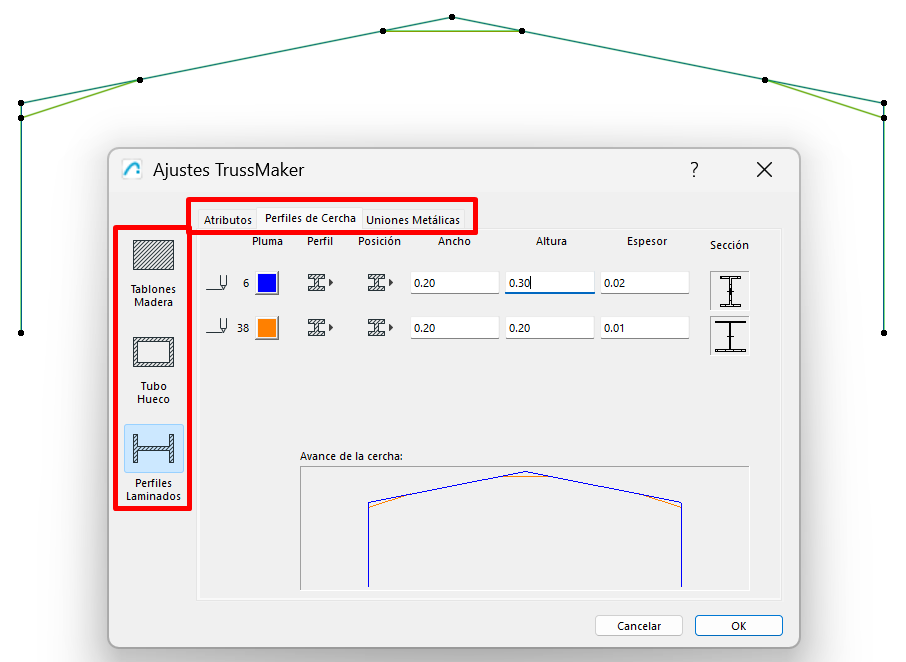
Step 5 - Adjust the truss settings
- In the dialog box, define the parameters for the different parts of the frame according to the geometry you have drawn.
-
Pay particular attention to the profiles or visual sections, thicknesses, joints, orientation, and the height or position of the generated object.
Step 6 - Save and place the object
-
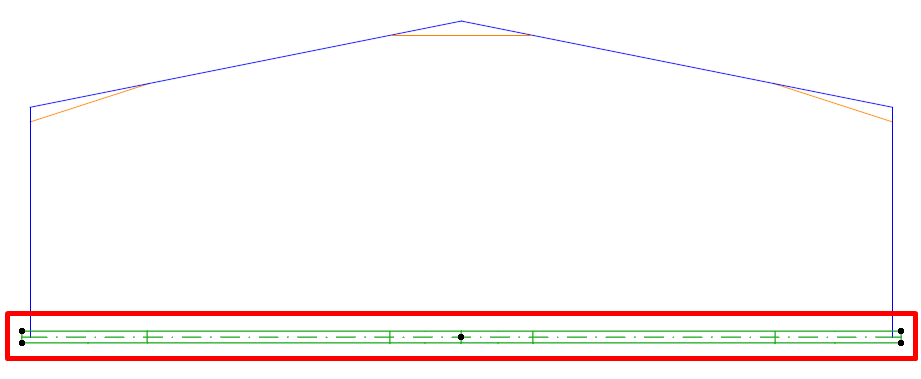
Once you accept the settings, Archicad will generate the truss as an object within the model. It will be saved in the Embedded Library.
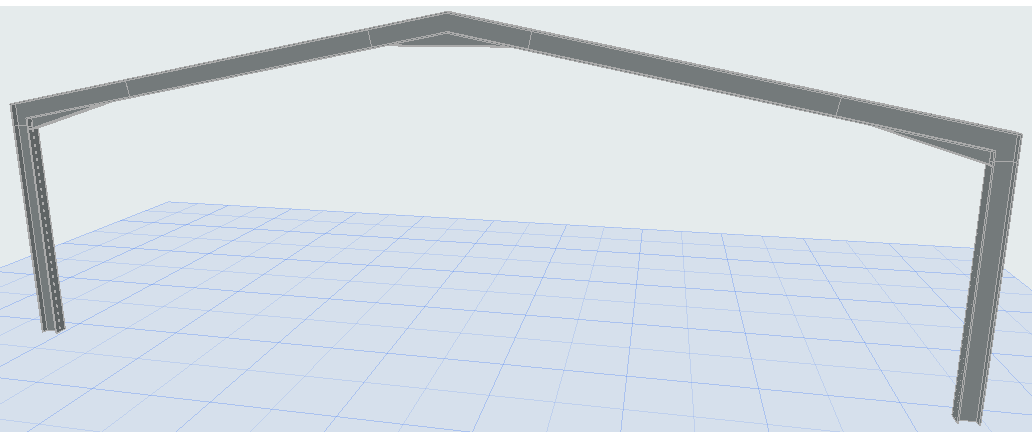
How to edit a truss you have already created
Important: The tool does not edit the existing truss directly. The process consists of using its base geometry to generate a new, updated truss. The editing function lets you retrieve and modify the original outline, but a new object is always created.
- Open an elevation or section where the truss is fully visible face-on.
- Select the existing truss.
- Go to Design > Design Extras > Edit Truss.
- Click Continue Editing.
- The original outline of the truss will be displayed.
- Modify that outline as needed.
- Run Create Truss again to generate the new version.
Good practice
- Use this tool for conceptual or visual-detail models.
- Keep pen colours consistent.
- Work in section if you need greater geometric control.
- Always check the result in 3D.
- Always assume that any change means regenerating the truss, not editing it directly.
Common problems
The frame is not generated correctly
Check that the outline is complete, well defined and has no loose elements, with all lines selected and pens correctly differentiated.
The shape does not match what was expected
Review the settings in TrussMaker, especially the pen assignments, the profiles and the interpretation of the diagonals.
I can’t edit it by moving the original lines
That is normal. You must use Edit Truss to retrieve the outline and generate a new one.
Related articles
- How to Uniquely Identify Hotlink Module Zones in Archicad Schedules?
- How to Set the Origin of a 3D Texture in Archicad?
- Why Do Drawings Exported to PDF in Archicad Generate Very Large Files?
- How to Map a Custom Archicad Property to an IFC Property?
- How to Remove an Archicad Educational Licence from a Computer?