
Articles in this section
- How to Uniquely Identify Hotlink Module Zones in Archicad Schedules?
- How to Set the Origin of a 3D Texture in Archicad?
- Why Do Drawings Exported to PDF in Archicad Generate Very Large Files?
- How to Map a Custom Archicad Property to an IFC Property?
- How to Remove an Archicad Educational Licence from a Computer?
- How to Change an Archicad File Started in the International Version to the Spanish Version?
- How to Import a PDF to Use as a Reference in Archicad?
- How to Use Educational and Commercial Versions of Archicad on the Same Computer?
- How to Get the Archicad Connection with Twinmotion?
- How to Create a Structural Frame with the Create Truss Tool in Archicad?
Archicad Does Not Recognise a Wall on the Dimension Line
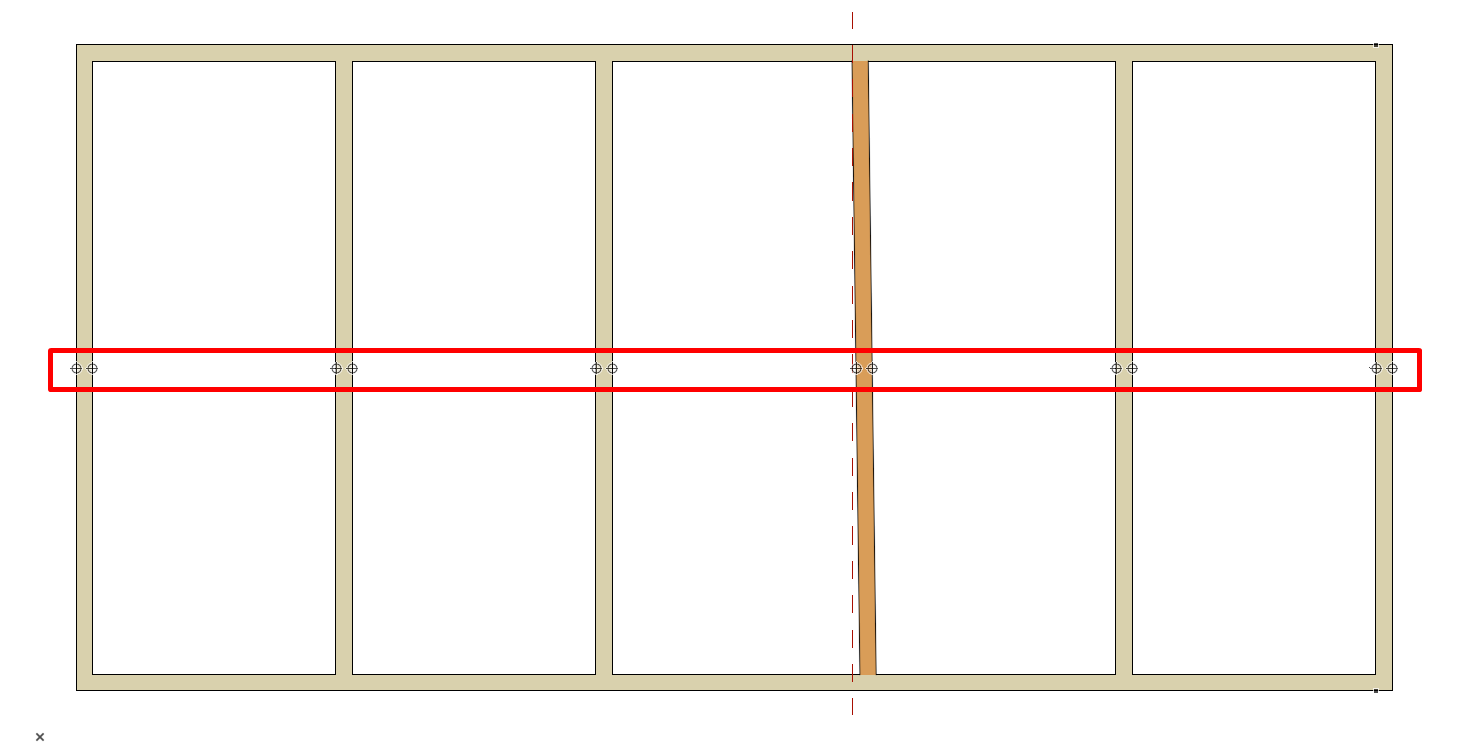
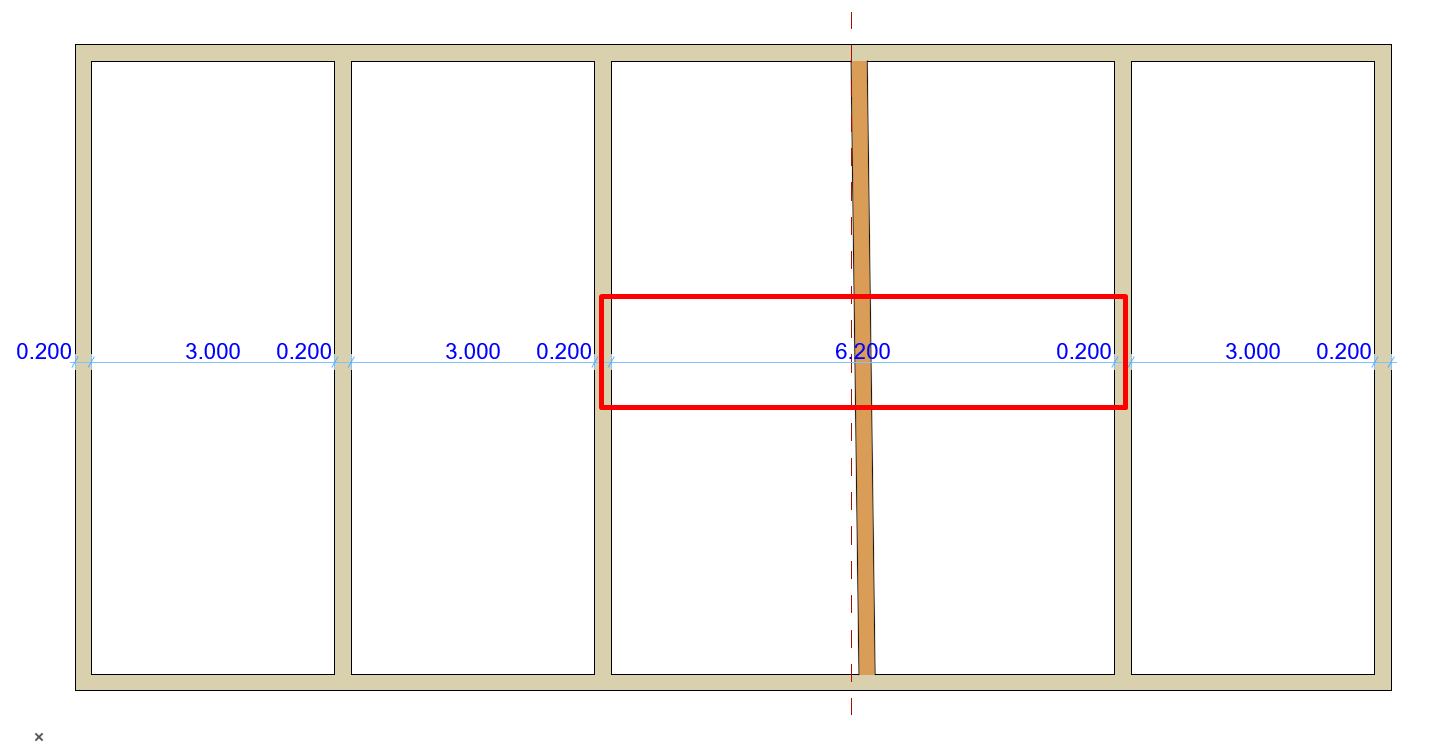
If Archicad's dimensioning tool does not recognise a wall and does not add it to the dimension line, the most common cause is that the wall is not perfectly straight.
Symptoms
- The wall is visible in plan, but is not included when dimensioning automatically.
- Other walls are recognised, but one specific wall is left out.
- The dimension line does not pick up the expected reference from that wall.
Cause
In most cases, this happens because the wall is slightly tilted or not perfectly straight. Even a minimal deviation can prevent Archicad from recognising it correctly when using automatic dimensioning.
Solution
Option 1: Fix the Wall's Geometry
Note: This option applies when the wall has a slight, unwanted deviation in its geometry.
- Select the wall in plan.
- Check whether the wall is perfectly straight.
- Adjust or redraw the wall so its geometry is clean and aligned.
- Place the dimension line again.
Once the wall is properly straight, Archicad should recognise it as normal.
Option 2: Manually Add the Missing Dimension
If you don't want to modify the wall's geometry, you can manually add the missing reference to an existing dimension line.
There are two ways to do this, depending on how tilted the wall is (or whether it is not parallel to the others) and where you want to place the dimension reference.
2.1 Using the Start of the Wall or the Point Where It Intersects Another Element
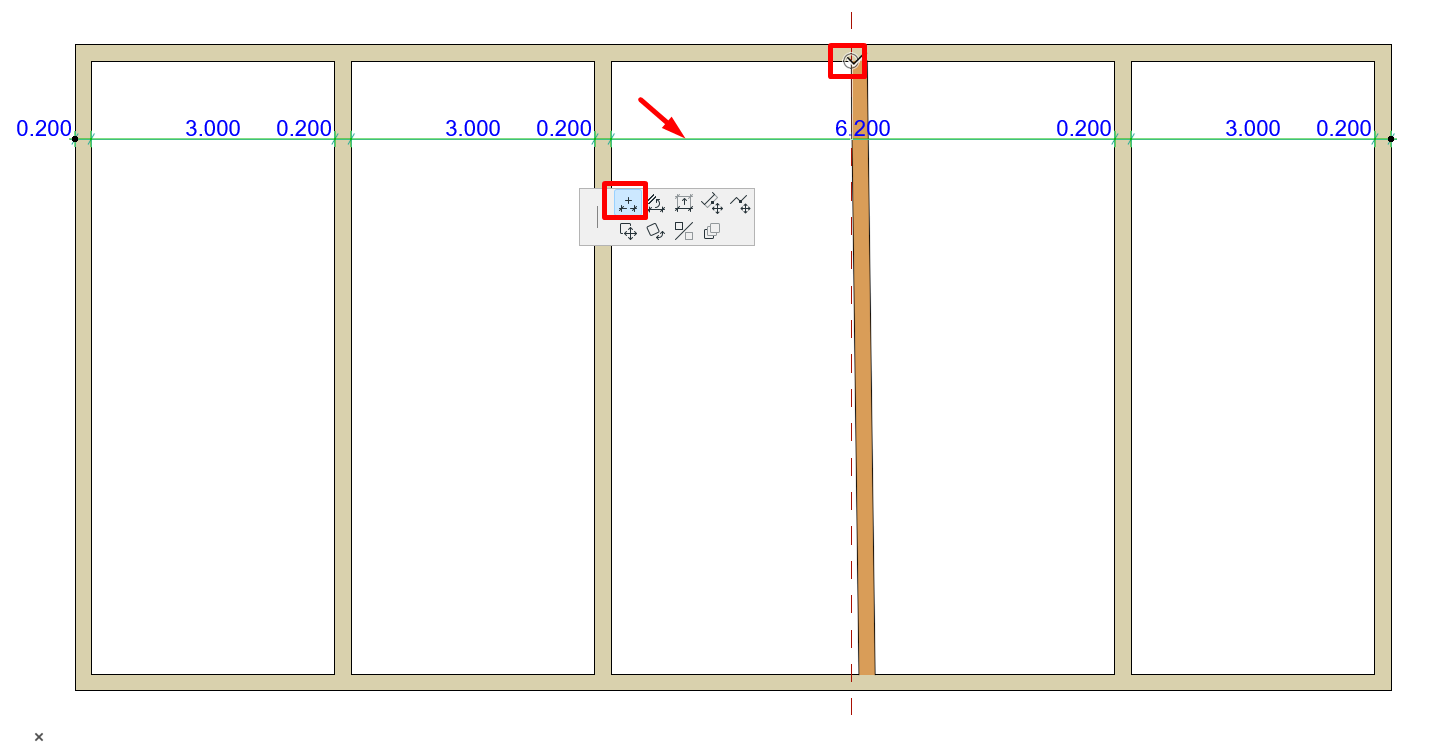
- Select the existing dimension line.
-
Holding down Ctrl or ⌘ Cmd (or using the Pet Palette), click a corner at the start of the wall or the point where it intersects another element.
-
Repeat the operation at the other corner or the other intersection.
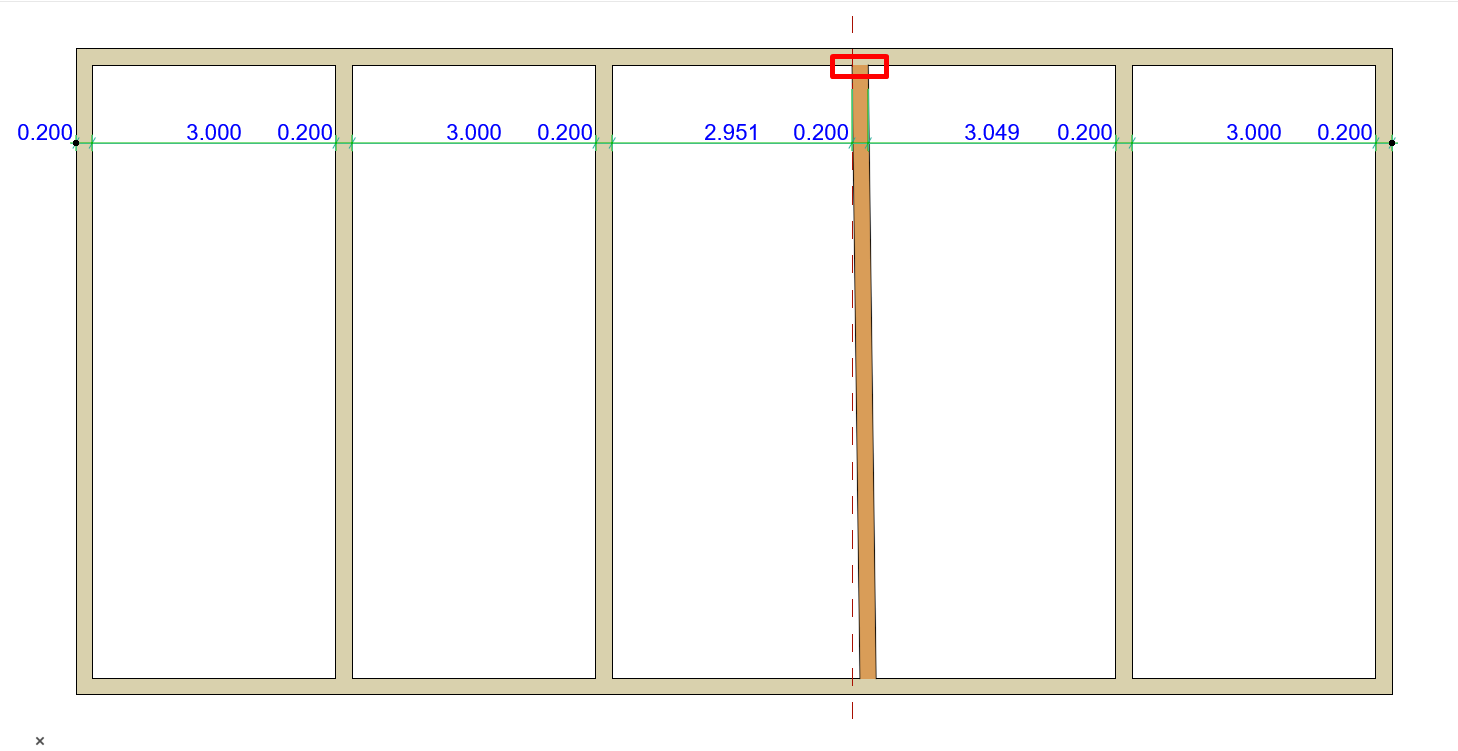
2.2 Creating a Temporary Reference Line
-
Draw a line at the location where you want to place the dimension reference.
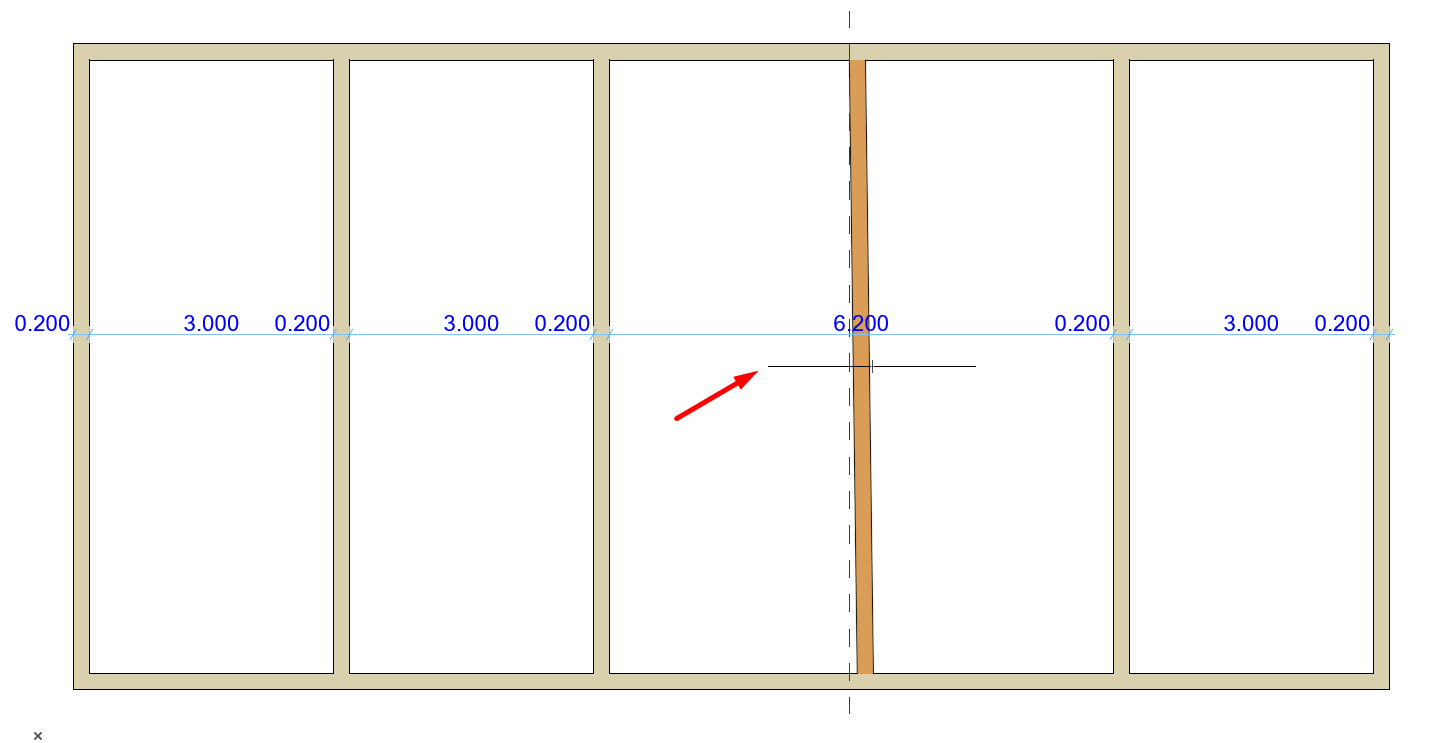
-
Holding down Ctrl or ⌘ Cmd (or using the Pet Palette), click the intersection of the wall with the reference line you just created.
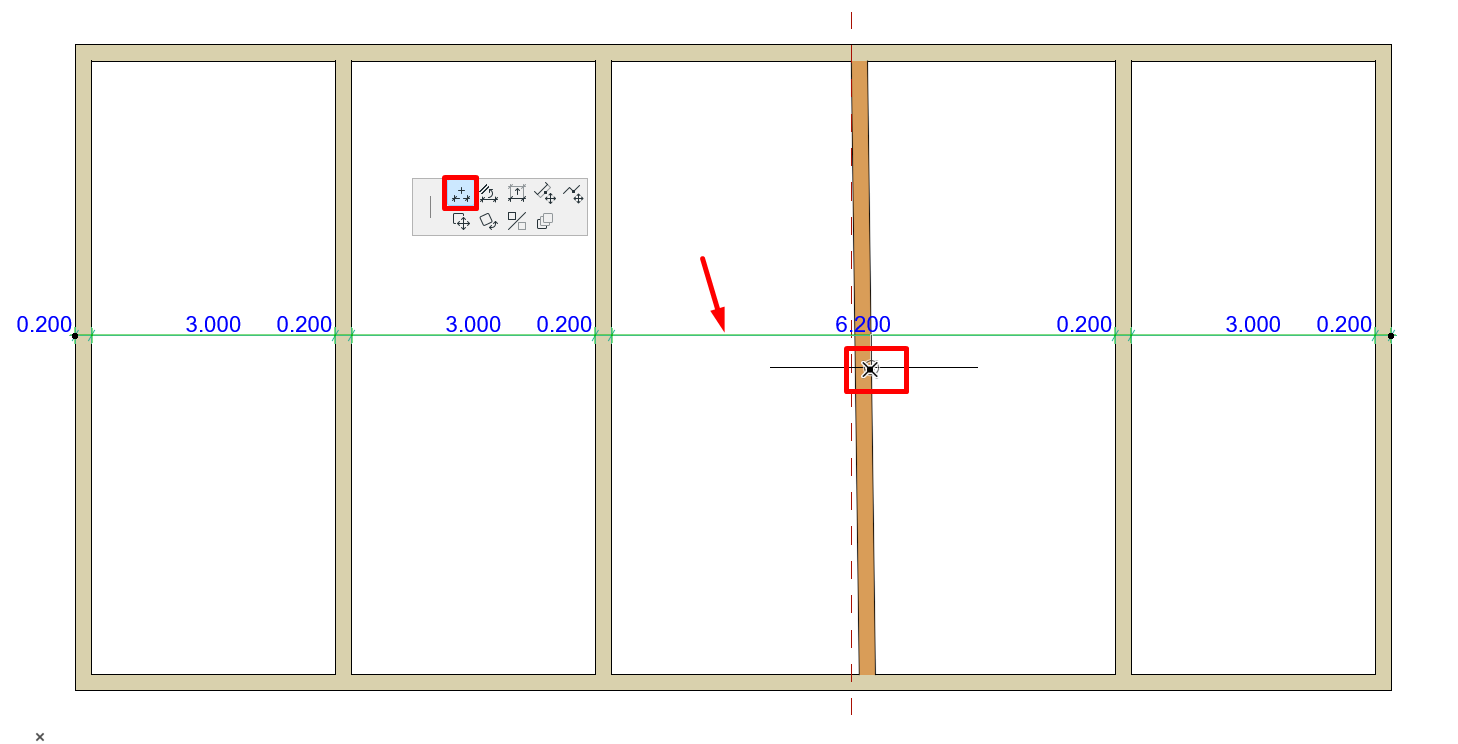
-
Repeat the operation for the other intersection and delete the reference line.
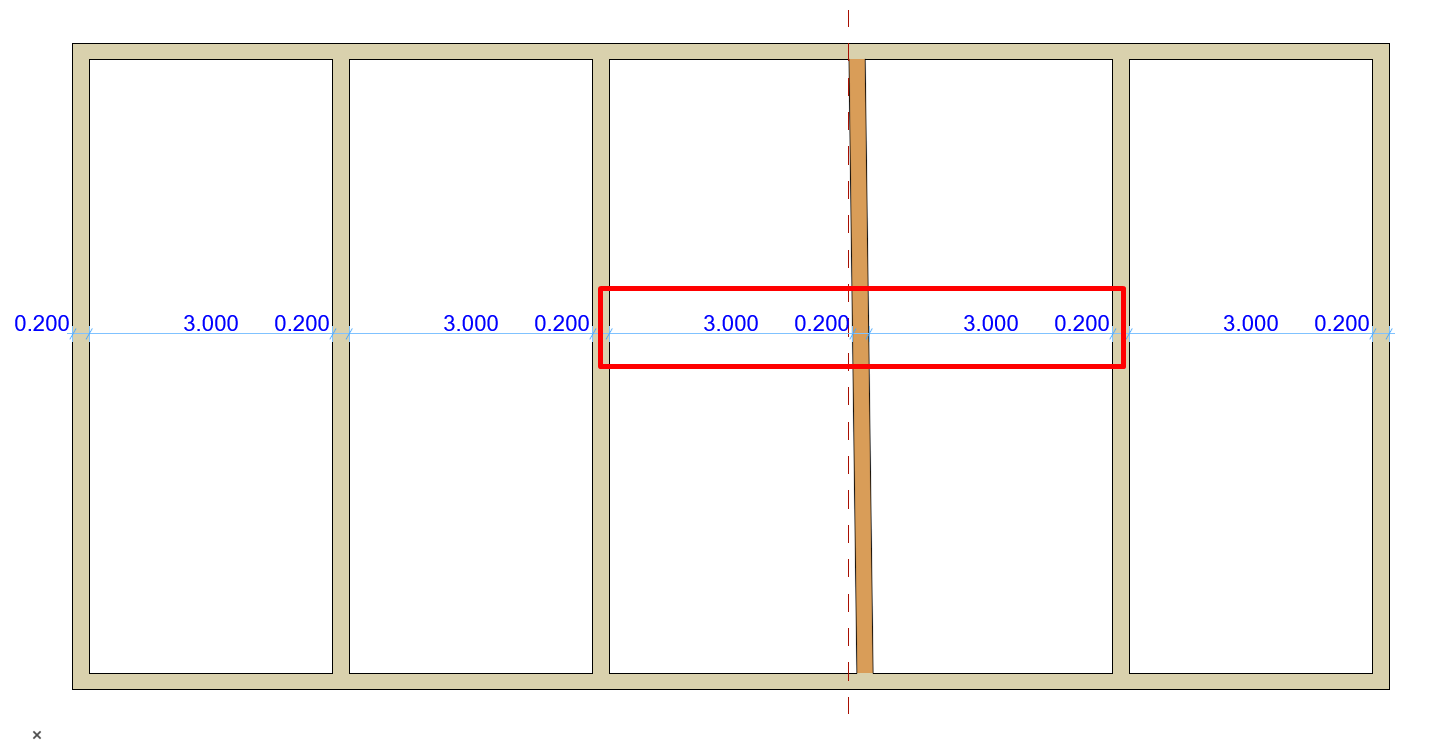
Note: Adding dimensions manually is useful when you don't want to modify the model's geometry, but it's advisable to work with well-defined elements whenever possible to maintain the project's consistency.
Related articles
- How to Uniquely Identify Hotlink Module Zones in Archicad Schedules?
- How to Set the Origin of a 3D Texture in Archicad?
- Why Do Drawings Exported to PDF in Archicad Generate Very Large Files?
- How to Map a Custom Archicad Property to an IFC Property?
- How to Remove an Archicad Educational Licence from a Computer?